iMessage, Apple’s own messaging service is unique and can only be accessed among users who have Apple devices. But, not anymore! A lot of people believe that iMessage can be utilized on iOS devices only. Surprisingly, Windows PC users can also operate the iMessage. Now, users who acquire Android can also use the iMessage app on their devices. Don’t panic, if you don’t know, how! The post shows you multiple effective approaches to get iMessage on Windows 10 PC and have the same experience as iOS devices. Before we proceed, it is important to know what all features are provided by iMessage for Windows 10.
You can quickly share videos, pictures, documents, and other file types.Share handwritten messages with people.Access to unlimited features at no cost.Enables users to form groups and chat with each other.Animated emoticons can be incorporated into the chats.
Easy & Quick Ways to Get iMessage For Windows PC
In this section, we have put together different methods to get iMessage by Apple on Windows PC. Now, without further ado, let’s get started:
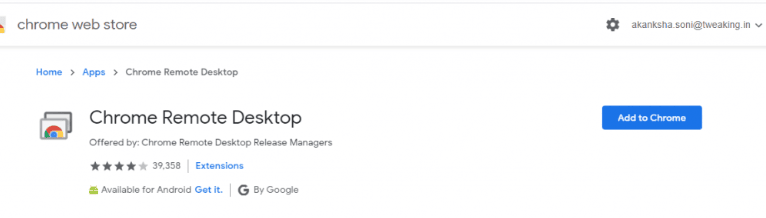
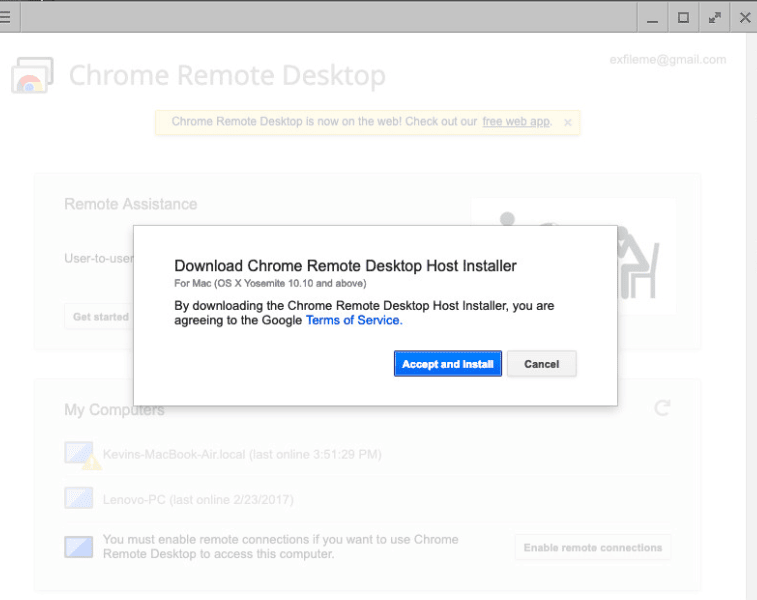
Method 1: Use Chrome Remote Desktop
In order to follow the route, you would need to have both a Mac laptop and a Windows PC. To proceed, follow the steps below: Now, wait until you see a pop-up window informing you that iMessage is enabled on your Windows 10 PC. Also Read: How to Fix Remote Desktop stops working in Windows
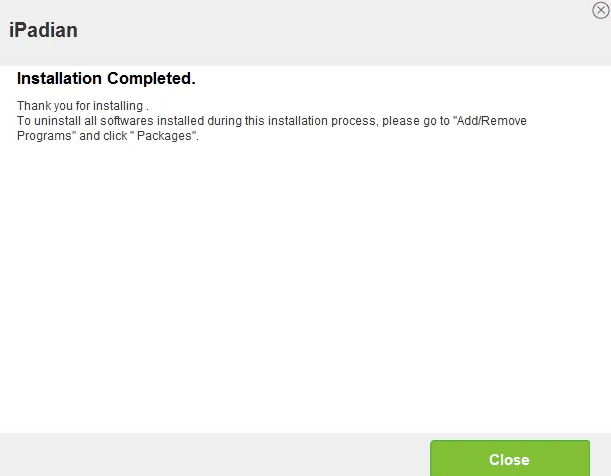
Method 2: Use iPadian Emulator
Another way to access iMessage on Windows 10 PC is to use a simulator like iPadian Emulator. It is a simulator program that makes the Windows UI exactly looks like an iOS UI. Also, this simulator does not make any sort of modifications to the PC’s core programs or working environment. Moreover, one can use it for free in order to access iMessage on Windows. Here is how to get iMessage on Windows 10 using iPadian Emulator: Once done, you can easily use the iPadian Emulator to access iMessage with the purpose of getting Apple messages on PC.
Method 3: Use Cloud Service Cydia
Last but not least, Cydia is another great way to use iMessage on Windows 10 PC. For this, be sure your iOS and PC device are attached to the same Wi-Fi network. To use iMessage on Windows PC, follow the steps below: That’s all! See how easy it is to get the iMessage app for Windows PC. Also Read: Best iOS Emulators for Mac and Windows
How to Use iMessage on Windows PC?
Finally, iMessage has been downloaded and installed on your Windows PC. Now, if you are wondering, how to use iMessage on Windows 10 or older versions? Then, nothing to worry about, simply follow the steps indicated below:
Closing Words
Accessing iMessage for Windows 10 PC is a most-awaited and amazing feature. However, you may face a few hindrances to enjoying the application on your computer. But the above methods will help you hassle-free use iMessage on Windows 10, 8, and 7 PC. We hope you find this guide quite informative and helpful. If you have any queries then please feel free to drop them into the box below. Additionally, for more tech-related information, do subscribe to our Newsletter and follow us on Facebook, Twitter, Instagram, and Pinterest.