Change Google Play Store Country After Moving to New Country
Follow the steps below to Change Google Play Store Country, in case you have already landed in your New Country. 1. Open Google Play Store on your Android Phone or Tablet. 2. In Google Play Store, try to purchase any Paid App (You don’t have to actually buy the app)
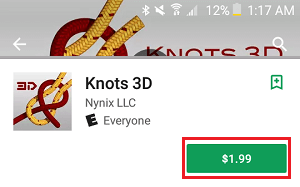
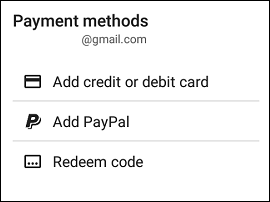
3. On the next screens, tap on Continue until you reach the Payment methods screen (See image below). Do not tap on any Payment Method on this screen, simply close the Google Play Store
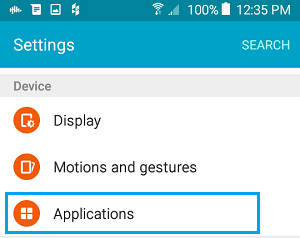
4. Next, open Settings App on your Android Phone or Tablet. 5. On the Settings Screen, tap on Applications (See image below)
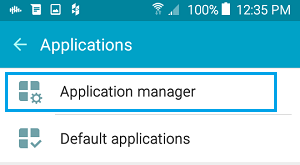
On the Applications screen, tap on Application Manager.
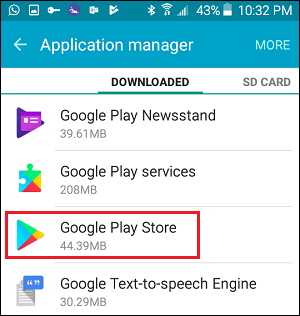
On the next screen, tap on Google Play Store
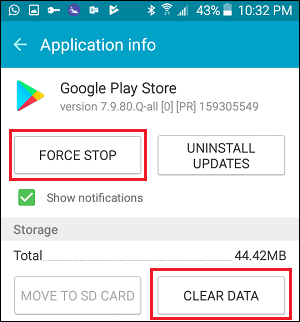
8. On the next screen, first tap on Clear Data (or Cache) and then tap on the Force Stop (or Quit) button
9. Now, open the Google Play Store on your Android Phone and Accept Google Play Terms of Service by tapping on the Accept button.
This will change the Country in Google Play Store to your New or Current Country.
Change Google Play Store Country Using VPN
You can also make use of a VPN Service to Change Country in Google Play Store. This method is useful, in case you haven’t yet moved to your New Country and want to change Country in Google Play Store.
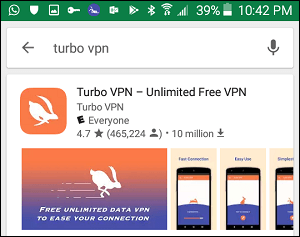
- Open the Google Play Store and install Turbo VPN App onto your Android Phone
Note: You can also install any VPN app that you prefer using. 2. Once the App finishes downloading, open Turbo VPN App on your Android Phone 3. Once the App opens, tap on the World icon located in the top right corner of the app (See image below)
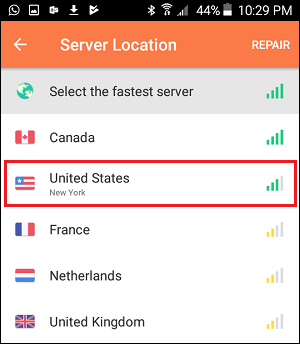
- On the next screen, tap on the Country that you want to change your Google Play Store to.
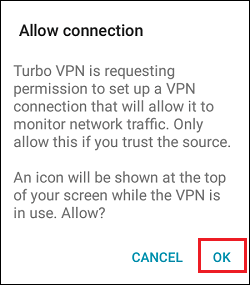
In case your country is not available in this list, try downloading Express VPN app on your phone. It has a much bigger list of available countries. 5. On the next pop-up, tap on OK and Wait for the App to establish a VPN connection.
- Once the App has established a VPN connection, open Google Play Store on your Android Phone or tablet 7. In Google Play Store, open any paid app and try to buy it (You don’t have to actually buy the app)
8. On the next screens, tap on Continue until you reach the Payment methods screen (See image below). Do not tap on any Payment Method on this screen, simply close Google Play Store.
9. Next, tap on Settings > Applications > Application Manager > Google Play Store (See image below)
10. On the Next screen, first tap on the Clear Data (or Cache) button and then tap on the Force Stop (or Quit) button (See image below)
11. After this open the Google Play Store on your Android Phone or Tablet and Accept the terms and conditions for Using Google Play Store by tapping on the Accept link (See image below)
This will automatically change the Country in Google Play Store to the Country that you selected in the VPN Service.
Change Google Play Store Country Using Credit Card
This method can be used in case you have already added your Credit Card to Google Play Store or you have a Valid Credit Card or any other form of Payment that you can Add to Google Play Store. The General idea behind this method is to first Update your Address (including Country) in Google Payment Center, which will then allow you to Change Country in Google Play Store while trying to make a purchase. Note: You can Remove Credit Card from Google Play Store at any time, after completing the steps to Change Country in Google Play Store.
Update Address in Google Payments Follow the steps below to Update your Address in Google Payments center.
Open Google Play Store on your Android Phone or Tablet
Next, tap on the 3-line icon from the top left corner of your screen to open a drop-down menu (See image below)
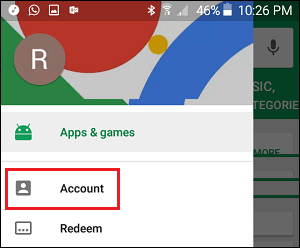
From the ensuing drop-down menu, tap on the Account Option.
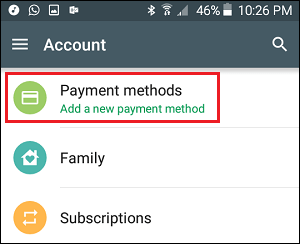
On the Account settings screen, tap on Payment Methods.
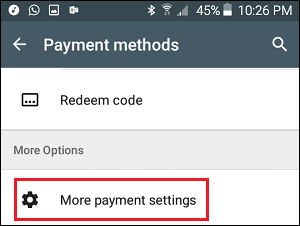
Note: If you do not have a payment method then you can temporarily add your current credit card. 5. On the next screen, tap on More Payment Settings tab (See image below)
6. On the next screen (Google Payment Center), sign into your Google Account. 7. After signing into your Google Account, tap on the 3-line icon from the top left corner of your screen (See image below)
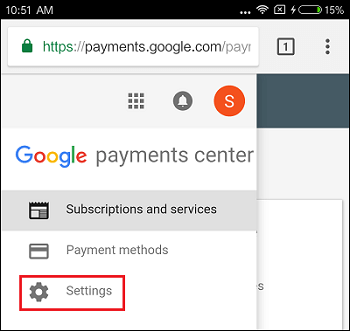
From the slide-over menu, tap on the Settings option (See image below)
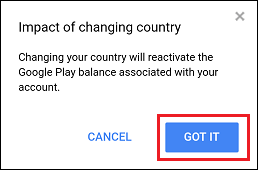
On the Settings screen, tap on the Pencil icon, beside Country and select your New Country (See image below)
10. You will see a pop-up, tap on Got it.
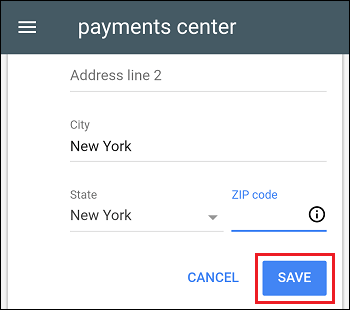
11. Next, provide your New Address and tap on the Save button.
Note: In case you get an error message while following these steps, quit Google Play Store and follow the above steps again. If the error persists go to your computer, visit payments.google.com and follow steps 6-10 again. 2. Change Google Play Store Country After Updating your Address in Google Payment Center, the next step is to change Google Play Store Country.
- Open Google Play Store on your Android Phone or Tablet 2. In Google Play Store, try to buy any Paid App (You don’t have to actually buy the app)
3. On the next Pop-ups, tap on Continue until you reach the Payment Methods Screen as shown below. Do not click on any Payment Method on this screen, simply close Google Play Store.
4. Next, open the Settings App on your Android Phone. 5. On the Settings screen, tap on Applications > Application Manager 6. On the next screen, tap on Google Play Store
7. On the next screen, tap on Clear Cache (or Clear Data) button and then tap on the Force Stop (or Quit) button
- Now open Google Play Store again on your Android Phone and accept the terms and conditions (See image below)
Your Google Play Store Country should be changed once you accept the Terms and Conditions for using Google Play Store on your Android Phone or Tablet.
How to Redeem Google Play Store Gift Cards On Android Phone or PC How to Install Google Play Store On Xiaomi Phones How to Try Paid Android Apps For Free On Google Play Store


![]()
![]()
![]()