Setup & Use VPN on iPhone
The most common reason for using VPN is security, especially while using public Wi-Fi Networks at a Coffee shop, Airport, Library and other public places. You can get more information about VPN and how it can protect your privacy by referring to this guide: What is VPN and How Does it Work. If your preferred VPN Service is available in the form of an App, the procedure to Setup VPN on iPhone can be as simple as installing the VPN App on your device and logging into VPN Service. If an App for your favorite VPN Service is not available, you will have to manually Setup VPN Service on your device.
1. Setup VPN On iPhone Using Apps
As mentioned above, VPN services that are available in the form of an App are basically designed to automatically setup and configure VPN Network on iPhone. You will find below the steps to Setup VPN on iPhone using TunnelBear App. Most other popular VPN services will also have similar steps.
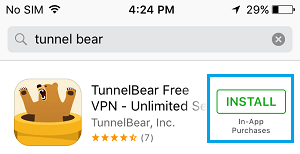
Open the App Store on your iPhone and search for your preferred VPN App. In this case we are looking for TunnelBear Free VPN. 2. Download and Install the VPN App on your iPhone or iPad.
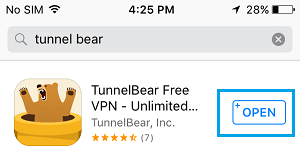
Once the App is installed, open the VPN App by tapping on OPEN button.
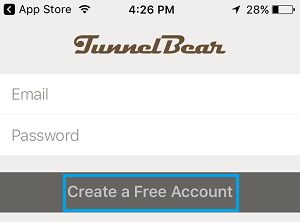
Next, you will be prompted to create Account. Enter your Email Address and type a Password that you want to use to login to your VPN Account and tap on Create a Free Account.
On the next screens, tap on I Agree option to accept TunnelBear VPN Terms of Service > tap on Allow to let the TunnelBear App Add VPN configurations to iPhone.
Next, login to your Email Account and look for an email from TunnelBear > open the Email and verify your Email Account by tapping on Verify Account Link.
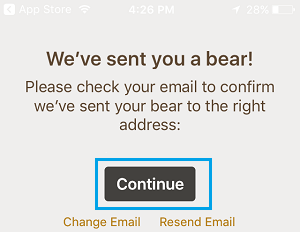
After verifying Email Address, tap on Continue to complete the process of VPN Setup.
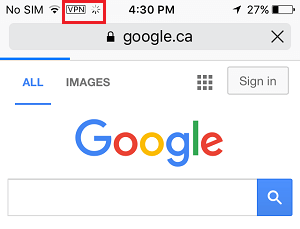
This completes the process of VPN Setup on iPhone and you are all setup to browse internet on your device using a secure VPN Network. By default, most VPN Services are designed to automatically connect to internet, whenever you open Safari or any other web browser on your iPhone. You can confirm whether or not you are browsing the internet using a Secure VPN connection by looking for VPN sign at the top left corner of your screen.
2. Manually Setup VPN on iPhone
You can manually Setup VPN on iPhone, if your preferred VPN service is not available in the form of an App or If you want to setup VPN with custom configurations.
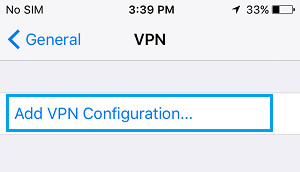
Go to Settings > General > VPN > tap on Add VPN Configuration.
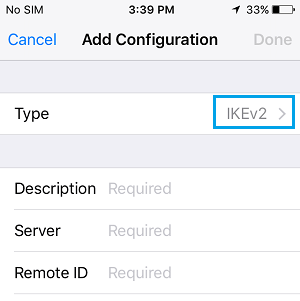
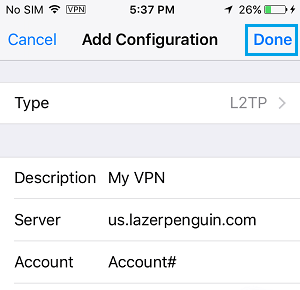
On Add Configuration screen, tap on the Type option.
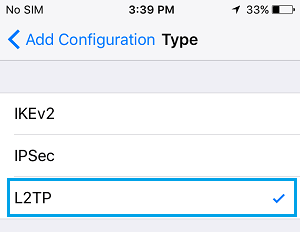
On the next screen, select the Type of VPN connection that you would like to setup.
IKEv2: Internet Key Exchange version 2 has strong encryption capabilities and is also known for its ability to reconnect very quickly, in case the VPN connection on your iPhone gets disputed. L2TP/IPsec: These VPN types are provided as alternatives to OpenVPN on iOS devices. iOS has API restrictions that prevents the use of OpenVPN on iOS devices. OpenVPN secures data at Transport level by making use of SSL/TLS security protocols, while IKEv2/IPSec secures data at the IP level. Both of these VPN Types can be considered as being more or less equally secure. 4. After selecting VPN type, go back to Add Configuration screen > type Description for VPN (say MY VPN), enter VPN Server Address, VPN Account Number and other details as required and tap on Done.
Note: You should be able to get most of these details by logging into your VPN Account or you can get them from your VPN service provider.
Activate VPN Service On iPhone
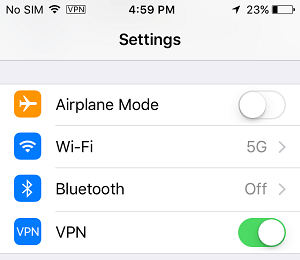
Once VPN is setup on iPhone, you will have to activate the VPN Network on your iPhone by going to Settings and moving the toggle next to VPN to ON position.
After this you are all setup to browse internet on your iPhone using a secure VPN Network.
How to Setup VPN Connection In Windows 10 How to Setup and Use VPN on Android Phone or Tablet
