Share iCloud Photos with Others
In order to Share iCloud Photos with others, the first step is to enable Shared Albums feature in iCloud Photos on iPhone. Once that is done, the next step is to Create a Shared Album on iCloud using the Photos App as available on your iPhone or iPad. After creating Shared Album, you can add Photos & Videos that you want to share with others and invite friends and relatives to view Photos in your Shared Album. The Shared Album in iCloud provides the option to control whether or not you want others to be able to Add Photos to your Shared Album and comment on Photos.
1. Enable Shared Albums in iCloud
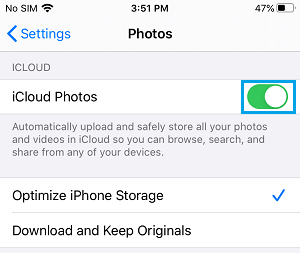
As mentioned above, the first step is to Enable Shared Albums in iCloud Photos on iPhone or iPad. Go to Settings > Photos > On the next screen, make sure iCloud Photos is enabled.
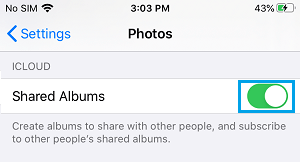
Scroll down on the same screen and enable Shared Albums by moving the slider to ON position.
2. Create Shared Album on iCloud
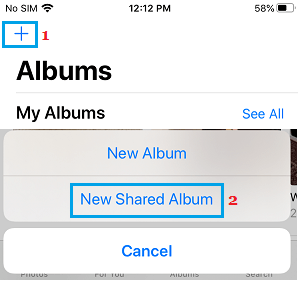
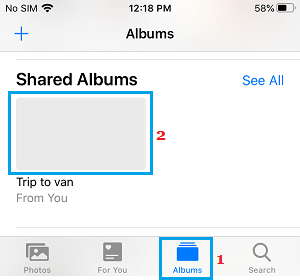
The next step is to create a Shared Album on iCloud using the Photos App as available on your iPhone. Open the Photos App on your iPhone and tap on Albums tab in bottom menu.
On the Albums screen, tap on + Plus icon and select New Shared Album option.
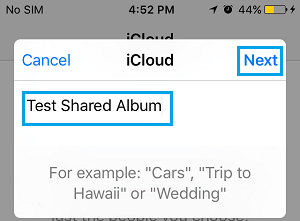
On the next screen, type a Name for your Shared Album and tap on Next.
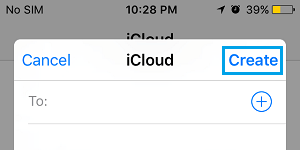
Tap on Create to create Shared Album in your iCloud Account.
With above steps, you have successfully created a Shared Album in iCloud Photos.
3. How to Add Photos to Shared Album on iCloud
After creating Shared Album, you can start adding Photos & Videos that you want to share with others to Shared Album. Open Photos App > tap on Albums tab in bottom-menu > scroll down and tap on your Shared Album.
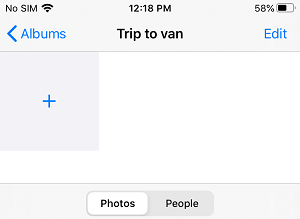
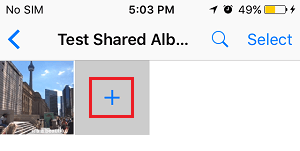
Once you are in the Shared Album, tap on the + Plus icon.
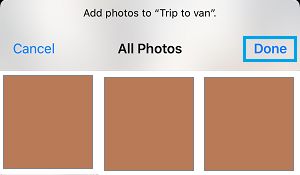
On the next screen, select Photos that you want to Share with others and tap on Done.
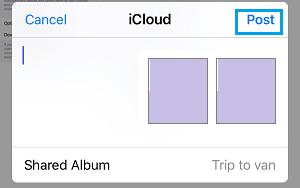
On the next screen, tap on Post to Add the selected Photos to the Shared Album.
4. Invite People to iCloud Shared Album
After adding Photos to the Shared Album, you can follow the steps below to invite people to your Shared Album on iCloud. Open Photos app > tap on Albums tab > scroll down and tap on your Shared Album.
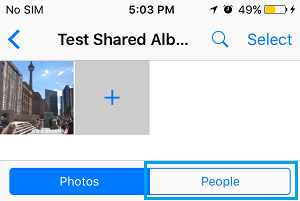
Once you are in Shared Album, tap on the People tab in bottom menu.
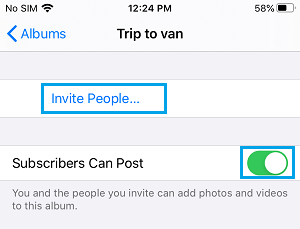
On the next screen, tap on Invite People… Link.
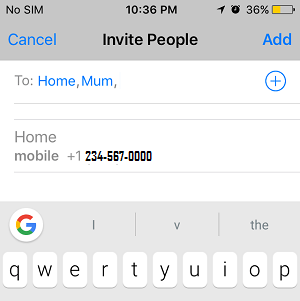
Note: You can enable Subscribers Can Post option, if want to allow others to post Photos and Videos in your Shared Album. On the next screen, add people that you want to invite to Shared Album by typing their Names or by tapping on the + Plus icon and selecting Contacts from your Contacts List on iPhone.
5. Remove People from Shared Album
At any time, you can prevent anyone from accessing Photos in your Shared Album by removing them from Shared Album. Open Photos App > tap on Albums tab > scroll down and tap on your Shared Album.
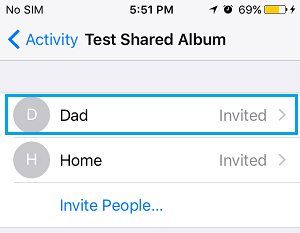
On the next screen, tap on People tab located in bottom menu.
On the next screen, select the Contact Name that you want to remove from Shared Album.
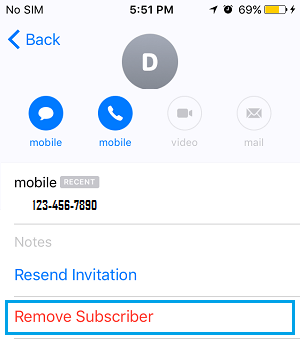
On the next screen, tap on Remove Subscriber link to remove this particular Contact from your Shared Album.
On the confirmation pop-up, tap on Remove to confirm.
6. Add More Photos to Shared Album on iCloud
You can add more Photos to your Shared Album at any time by following the steps below. Open Photos App > tap on Albums tab > scroll down and tap on your Shared Album.
Once you are in Shared Album, tap on the Plus button. This will take you to your Photos Album.
On the next screen, select Photos that you want to add to your Shared Album and tap on Done.
7. Delete Photos from Shared Album
Similarly, you can remove or delete Photos from your Shared Album at any time by following the steps below. Open Photos App > tap on Albums tab > scroll down and tap on your Shared Album.
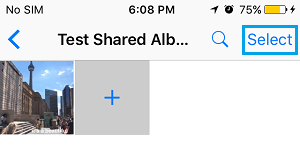
Once you are in the Shared Album, tap on the Select option located at the top-right corner of your screen.
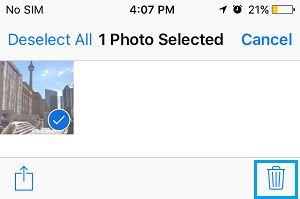
On the next screen, select Photos that you want to delete and tap on the Trash can icon located at bottom-right corner.
- On the confirmation pop-up, tap on Delete to confirm.
8. Delete Shared Album on iCloud
After the Shared Album has served its purpose, you can delete the Shared Album at any time. Open the Photos App > tap on Albums tab in bottom menu > scroll down and tap on your Shared Album.
In Shared Album, tap on the People tab located in bottom menu.
On the next screen, scroll down to bottom and tap on Delete Shared Album.
On the confirmation pop-up, tap on Delete to confirm.
How to Download All Photos From iCloud to PC How to Download All Photos From iCloud to Mac